Corne (CRKBD) Build Log
As a programmer, I spend a lot of time typing away on keyboards. Despite this, I’ve never really put much thought into the ergonomics and comfort of the keyboards I purchase. I dipped my toes into the mechanical keyboard scene when I purchased my Keychron K2 in early 2021, but haven’t dove any deeper into the hobby.
Since I’ve now graduated college and have a regular nine-to-five programming job, I’ve started to think more about how my keyboard could effect my wrists long term. The typical RSI (repetitive strain injury) that is common among programmers is something I’ve began to worry about, and so I decided to make a change.
Entering the World of Split Keyboards
Split keyboards had been something that I often saw and thought “huh, that’s neat” but never envisioned myself owning let alone building one. However, this video from Joe Scotto sent me down a rabbit hole on the world of custom split keyboards. There was a lot that I hadn’t thought about, such as the low space footprint and ability to place each half wherever it was most comfortable. Needless to say, I decided I needed to build one myself.
The catch was that building a custom keyboard was easier said than done. With very little electronics experience and soldering skill, building a whole keyboard seemed like a daunting task. I was trying to keep everything as low-budget as possible, so buying one pre-built didn’t seem like it was worth the extra cost. Luckily I was up for the challenge, as I’ve been meaning to sharpen my electronics skills and this seemed like the perfect opportunity to do so.
In addition to the mechanical challenges, there were a few other issues I had to keep in mind. The first of these was re-learning proper touch typing. Although I could type upwards of 90 words per minute already, it wasn’t ‘proper’ touch typing technique. Looking back on it, my technique developed as a result of needing to quickly type in online games, with my left hand always hovering around the W, A, S, and D keys.
The need to learn new muscle memory was made worse by using a standard full keyboard at work. Since I would be constantly swapping between keyboard layouts, my learning progress would be significantly slowed. To make matters worse, the significant reduction in keys (almost 30%) and additional complexity of needing to use layers made it seem like an even bigger challenge to make the switch.
My other major concern was how the keyboard would perform in gaming. Because I’m a game developer and just generally someone who enjoys video games, my new keyboard would need to hold it’s own while playing all types of games. Although I could potentially get around this by setting up a special ‘gaming’ layer, it would make gaming a lot more tedious.
Sourcing the Parts
After deciding to commit to the learning task, my next question was “where do I get the parts?”. There are some websites where you can get pre-made kits such as this one from Typeractive.xyz, however I didn’t really find one that I could customize to the point that I wanted. For example, a lot of the websites offered the popular Elite-C micro-controllers (which also happened to be out of stock at the time), but I didn’t really need a wireless keyboard so I opted to go for something a bit cheaper. In this case, I chose the Elite PI because I was already familiar with the RP-2040 micro-controller from working with Raspberry PI Picos in the past.
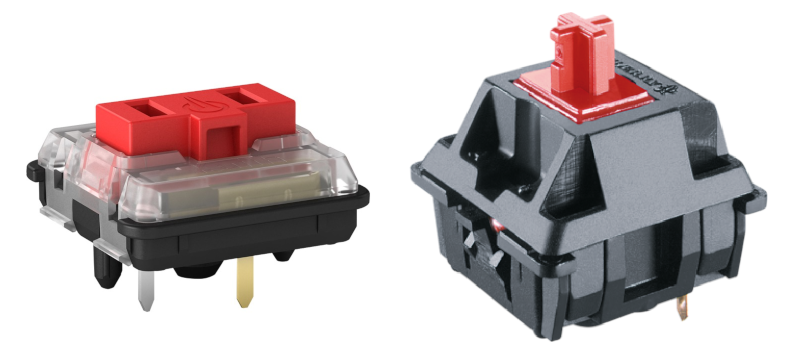
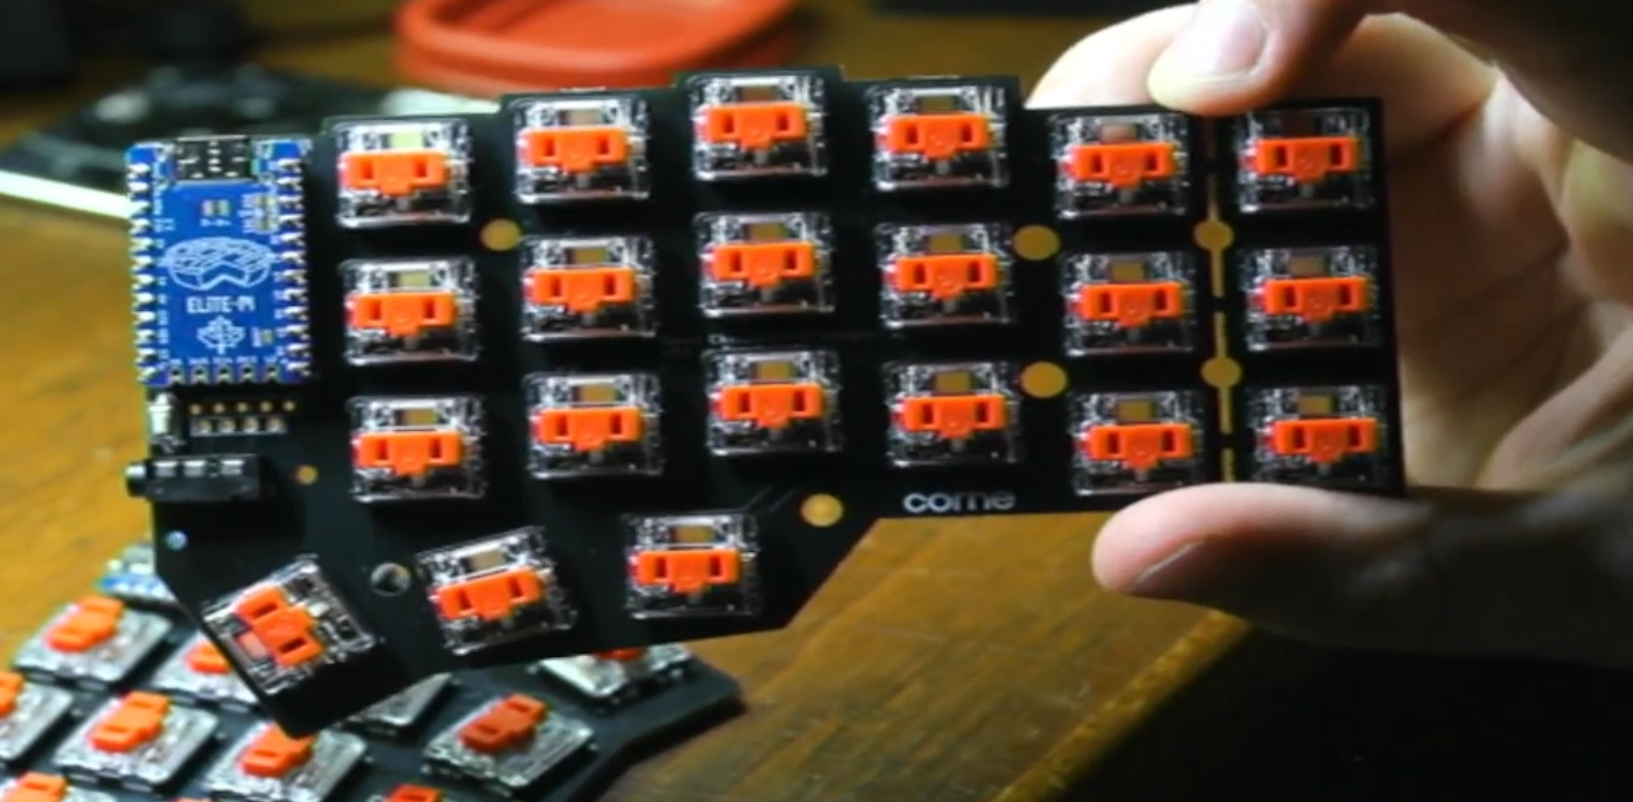
The next big decision I needed to make was what kind of switches I wanted to get. Although I was most familiar with the MX and Gateron switches (having Gateron browns on my K2), I decided to try the Kailh Choc low profile switches instead. Although I wasn’t super sure I would like them, the idea of a lower profile board seemed appealing and the quieter switches would definitely make my girlfriend happy. After doing some research I ended up going with the linear red switches, since they seemed like a good balance of tactile feel and actuation weight.
After figuring out these major design items, it was time to send it and get the parts. I was able to source everything I needed from a variety of websites, including Boardsource.xyz, Typeractive.xyz, and Keeb.io. I initially decided not to get OLED screens or underglow LEDs because I wasn’t sure if I would like the keyboard enough to make it worth the extra cost. However, I eventually ended up buying both when I started to use the keyboard and realized how comfy it was to use (more on that in a minute).
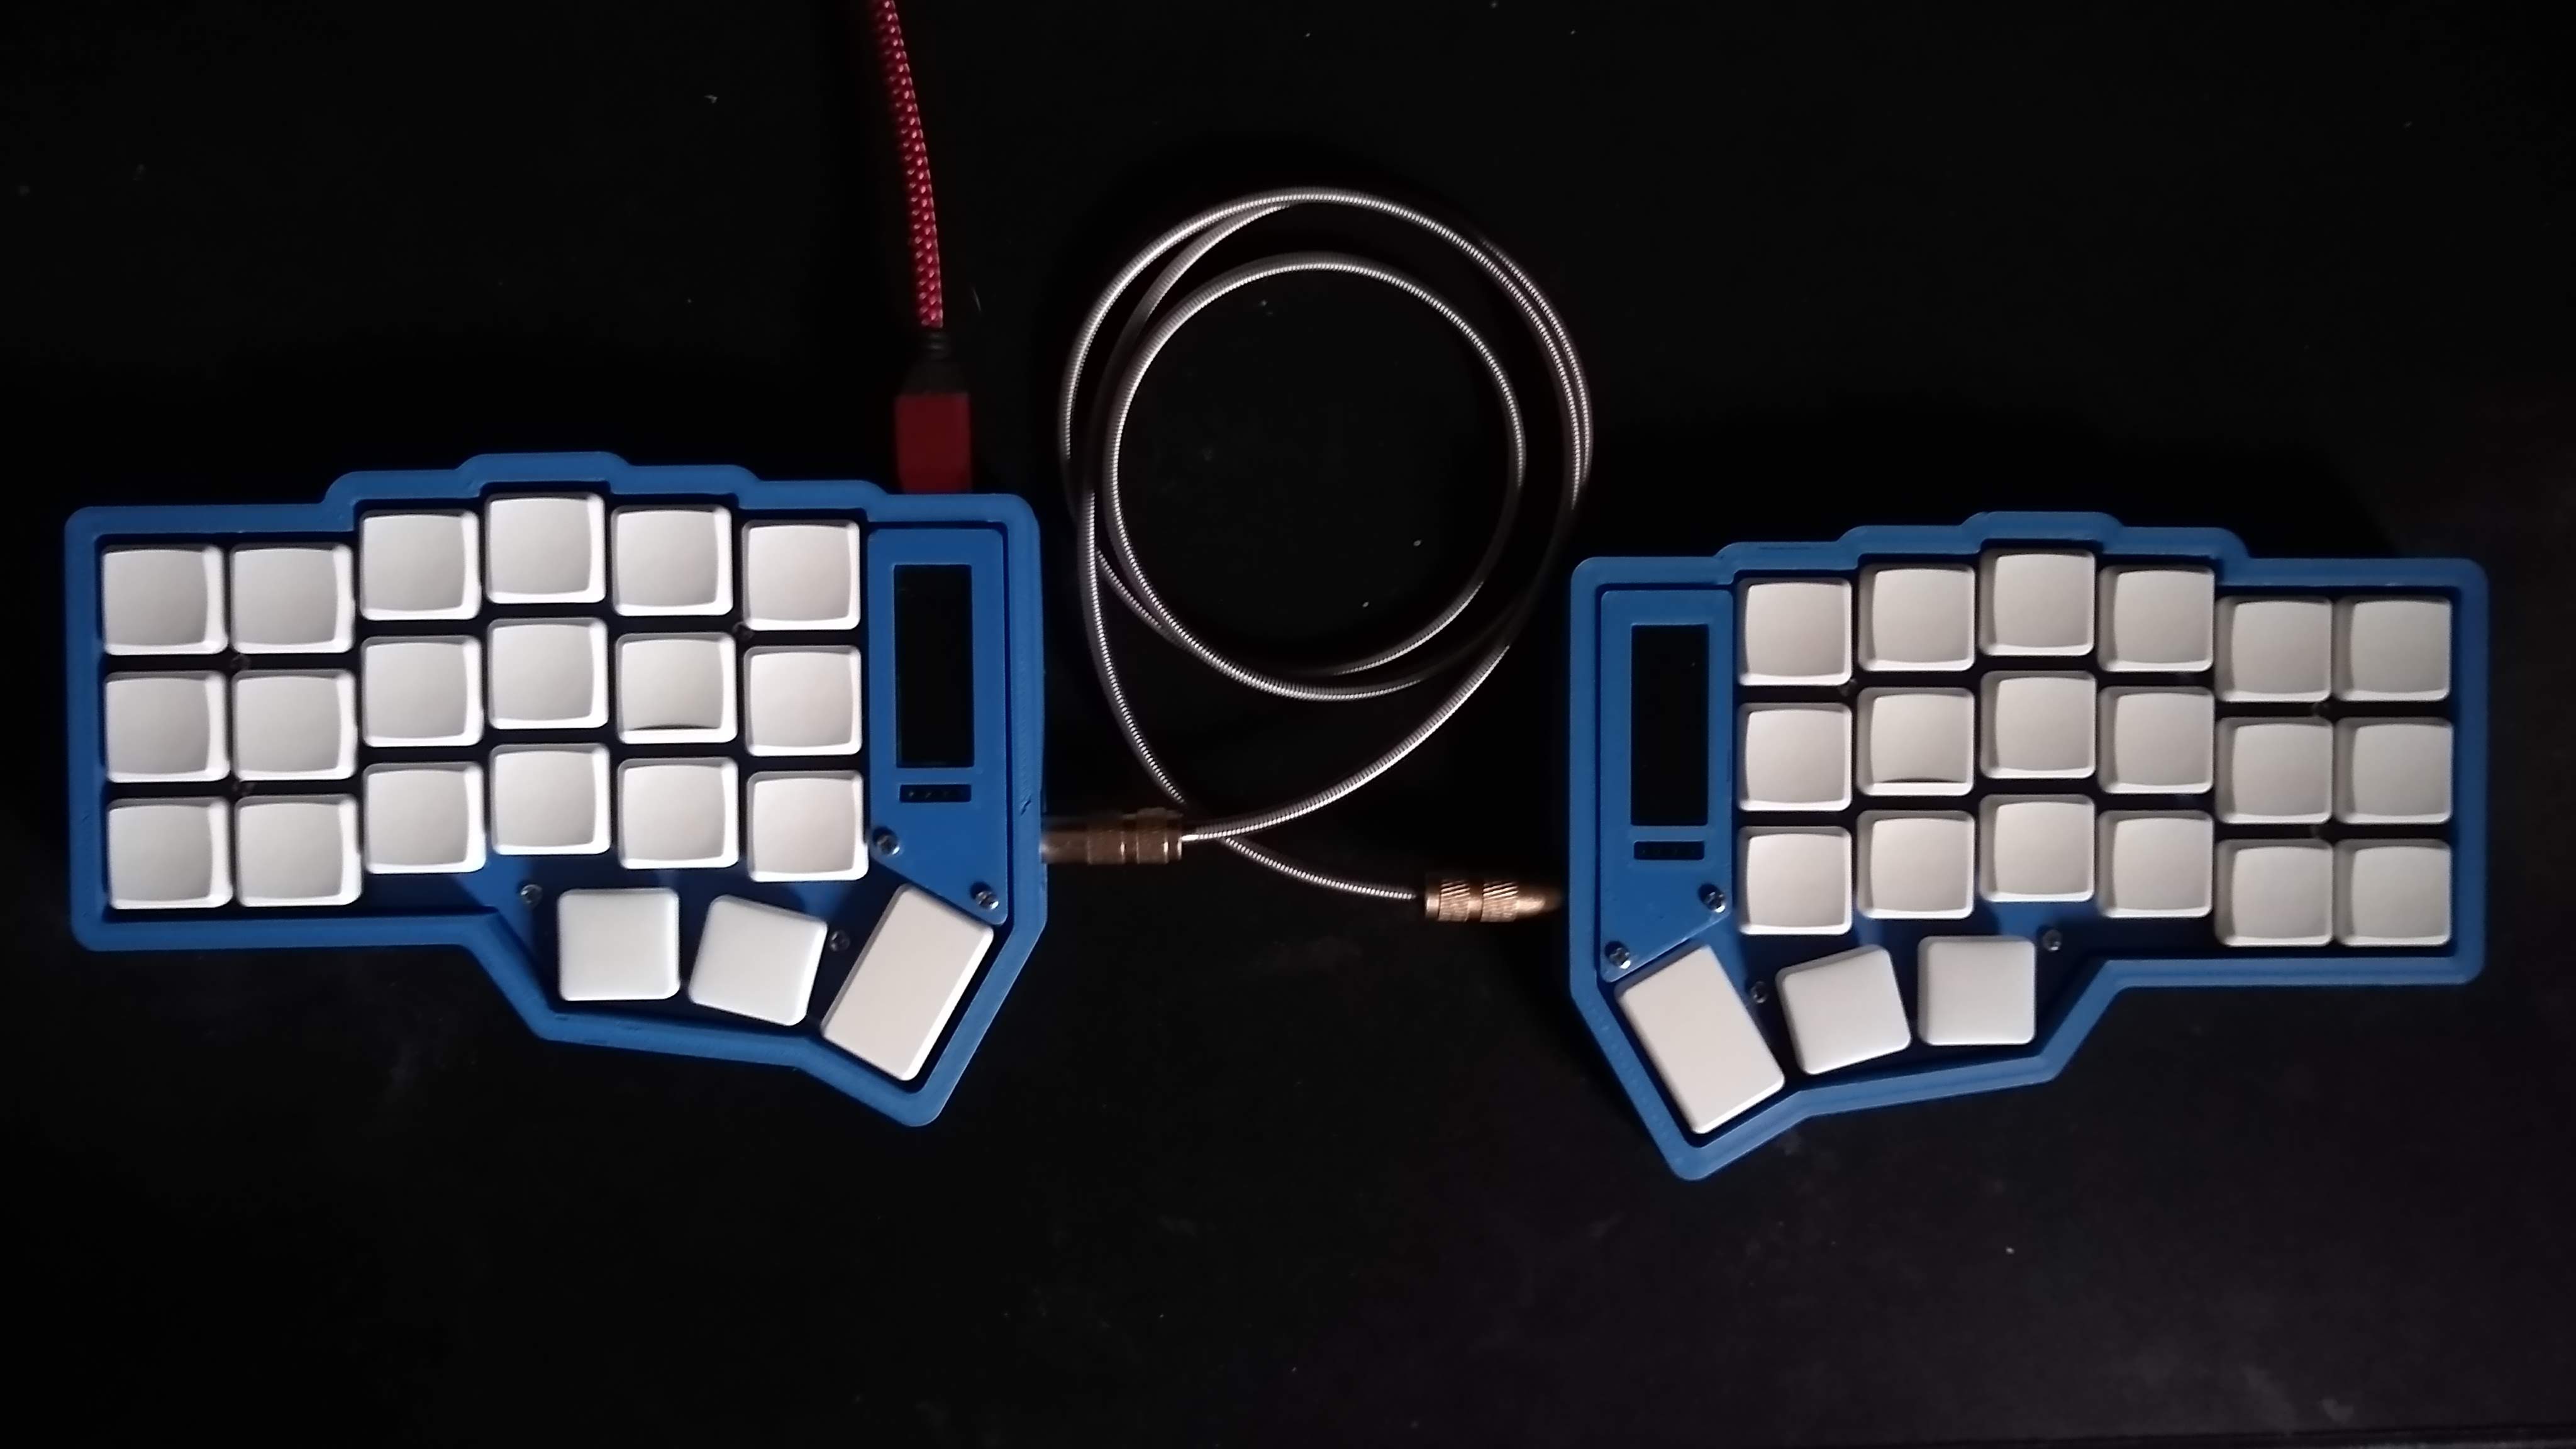
The Build
All things considered, the build actually went a lot smoother than I thought it would. Initially I was exremely anxious that I would end up ruining either the components or the PCB itself. Even so, after I got the first few resistors soldered on I was able to get into a rhythm and actually enjoyed the process. Unfortunately the SMD diodes I purchased were cylindrical instead of the flat ones I had seen in other tutorials, adding a bit of difficulty to the soldering process.
Once I got everything soldered to the board, it was time for the moment of truth. I socketed all of the switches, flashed the firmware on to the microcontrollers, and plugged it into my computer…
And it worked! Well, mostly- there were a few switches that weren’t working properly on first try. Luckily it was just a matter of re-flowing the hotswap sockets and diodes, after which everything was working correctly.
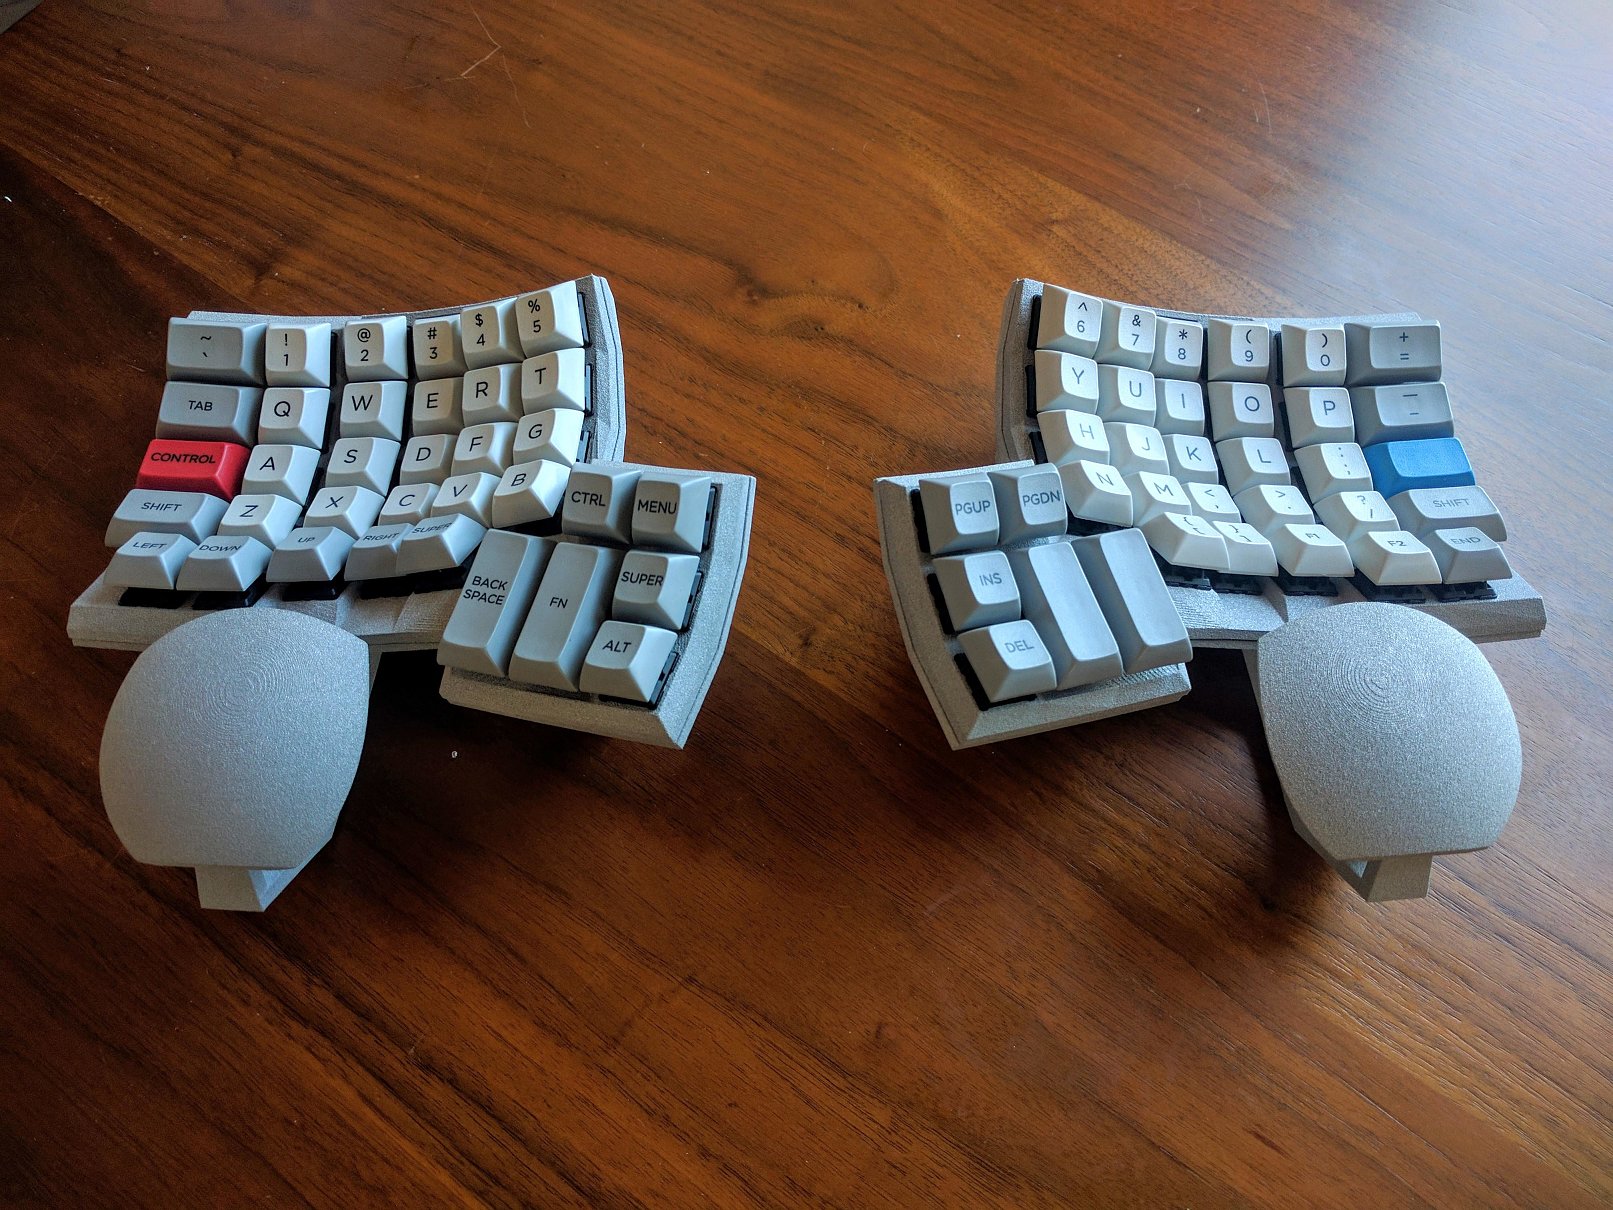
The next hurdle was printing the case on my Ender3 v2. As I mentioned before, I opted not to purchase a case since I have a 3d printer and wanted to be able to customize it. This proved to be a bit of a headache though as the case prints failed three times after 3d about 20% through each print.
The culprit seemed to be a clogged hot-end and a loose extruder, as well as a tangled filament spool on one occasion. After a lot of Youtube tutorials and confusion, I was able to get the issues resolved and the case printed. Overall the printing of the case took approximately 14 hours, but it was well worth the wait.
As I mentioned earlier, I eventually caved and purchased OLED screens and lighting hardware to give my newly built keyboard some nice underglow lighting. I decided not to add per-key lighting though since the cover plate I printed was opaque and honestly I just couldn’t be bothered. Soldering the OLED headers went great and the screens already had the header pins installed, so it was pretty much plug-and-play. The underglow was a different story…
The first one I did went great. I initially soldered it on incorrectly but luckily I was able to remove it and re-solder it. The third time I wasn’t so lucky. The LED had shifted as I was soldering it without my noticing, so the right side wasn’t touching the pads on the PCB. Unfortunately, I didn’t notice this until I had soldered all four pads, at which point it was too late. When I attempted to de-solder the LED I managed do destroy the LED AND rip one of the connection pads off of the PCB. Yikes.
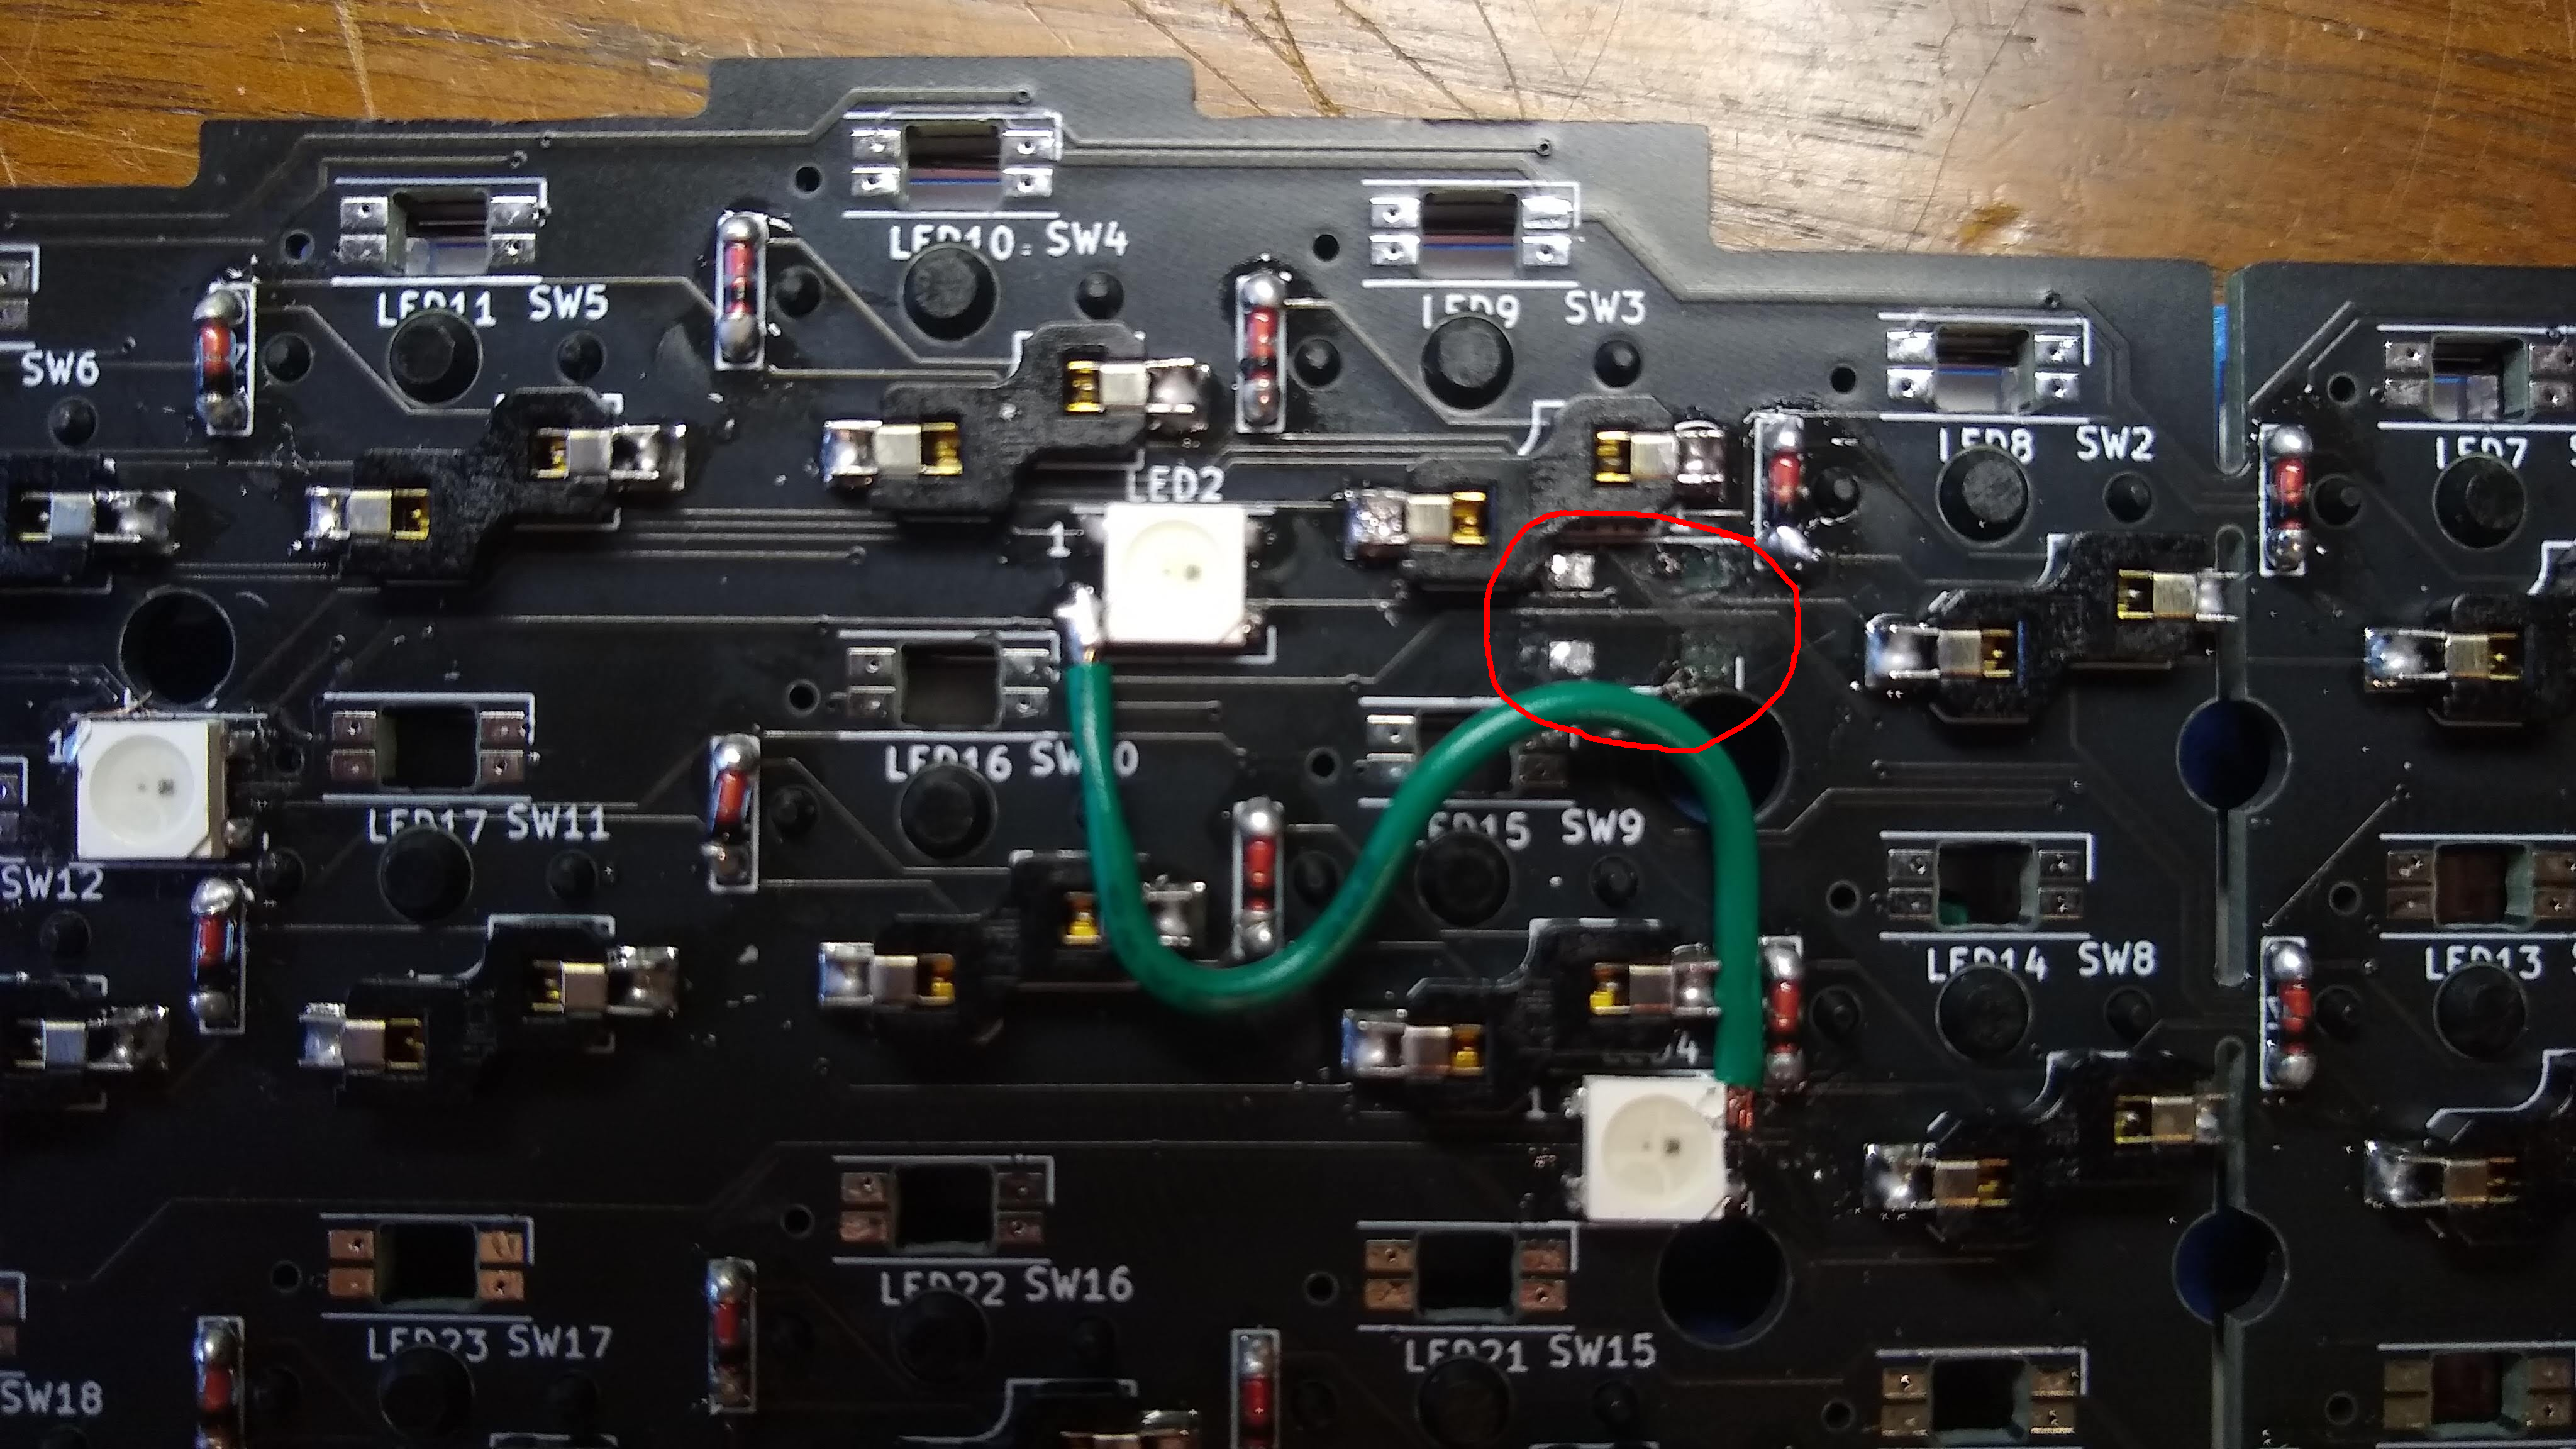
For anyone who isn’t familiar, the LEDs on a keyboard are usually all connected in series. This meant that if a LED earlier in the chain isn’t working, then none of the ones afterwards are either (kinda like holiday lights). After a lot of searching and looking through online forms, I was able to find the schematic for the PCB and solder a wire to bridge the bad connection that I ruined. Although this meant I was down an LED, I was at least able to get the rest working.
Final Thoughts
Overall, building this keyboard was a lot of fun! Despite all the challenges, I was able to exercise my soldering skills and electronic knowledge while also improving my day-to-day ergonomics. With all the parts and materials the build was just shy of $200 USD, which is definitely the most I’ve ever spent on a keyboard. Although I wouldn’t recommend this to everyone, the potential ergonomic benefits and enjoyment I got from the build justified the cost for me. I am still getting used to the ortholinear layout since I need to undo 10+ years of muscle memory, but every day the movement feels a bit more natural.
Though only time will tell if having a split keyboard will help prevent wrist injury, for now it’s at least more comfy and fun to type with. There’s still work to do to customize the layers to what works best for me, but that’s a task I plan to accomplish as I become more acquainted with the new layout.